Getting the LWC on the Page
How to deploy and add your newly minted LWC to a Lightning Record Page
From Code to UI
Once you've built your Lightning Web Component (such as the accountCard or AccountInputEditor we looked at previously) with the help of Cursor, the next step is getting it visible to your users.
While Cursor and the Salesforce CLI can generate .flexipage-meta.xml metadata files to deploy entire page layouts programmatically, it is highly recommended to use the Salesforce UI (Lightning App Builder) for updating and assembling page layouts. The Lightning App Builder provides a visual, foolproof way to configure properties, test visibility rules, and ensure layout structure is perfectly formed.

Always make sure your component is actually deployed to your org before trying
to add it to a page. You can do this by using the SFDX: Deploy Source to Org
command in your editor or running sf project deploy start in the terminal.
Adding Your Component via the Lightning App Builder
Follow these steps to add your newly generated custom component to an existing Record Page:
Log in to your Salesforce org. Navigate to the object and specific record where you want your component to appear. For example, if you built the accountCard, open an existing Account record.
Click the Setup gear icon in the top-right corner of the page, then select
Edit Page. This will launch the Lightning App Builder for that specific
record page.
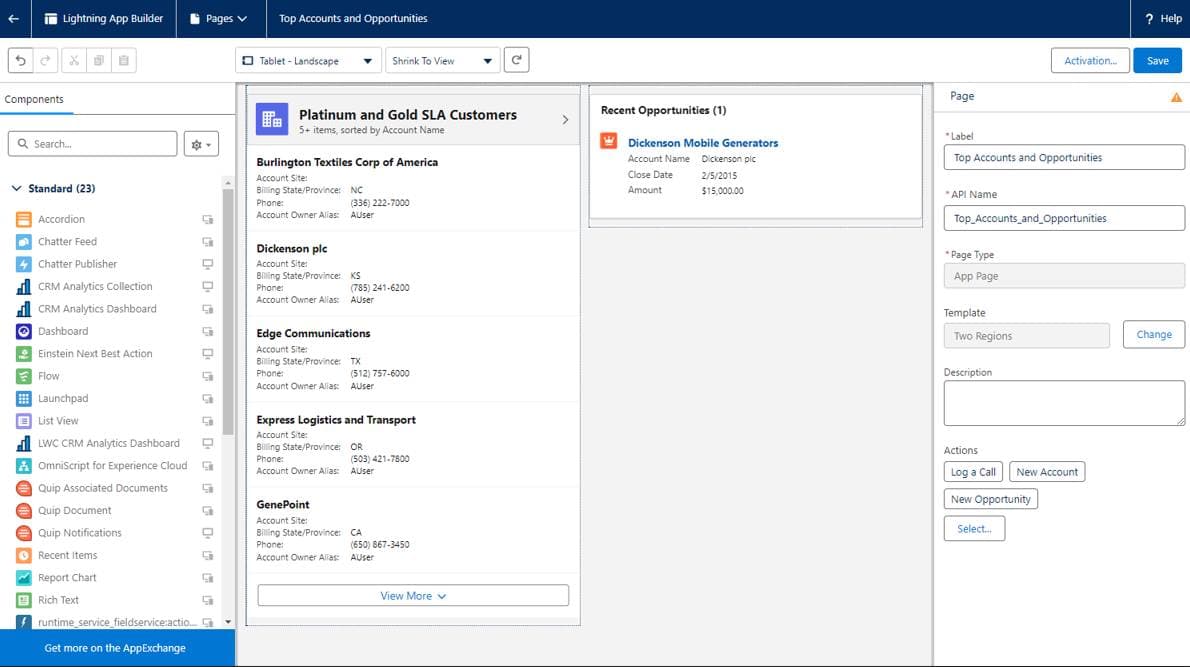
In the Lightning App Builder, look at the Components pane on the left
side. Scroll down past the "Standard" components to find the Custom
section. Your deployed LWC (e.g., accountCard) should be listed here.
Click and drag your custom component from the left pane onto the central page canvas in the desired location.
If your component exposes public properties using @api variables (and you
defined them in your .js-meta.xml target configs), you can configure them in
the right-hand Properties pane while the component is selected on the
canvas.
Once you're happy with the layout, click Save in the top-right corner.
If this is the first time editing this page, or you explicitly want to roll it out to specific profiles, click the Activation... button. You can choose to set the page as the Org Default, or assign it to specific Apps, Record Types, and Profiles.
Success
Once saved and activated, click the Back arrow in the top left of the App Builder to return to your record. Your new AI-assisted Lightning Web Component should now be fully functional and live on the page!
Common Pitfalls and Troubleshooting
If things aren't working as expected, don't worry! Here are the most common beginner issues when getting components onto a page.
1. "I deployed it, but I can't see it in the App Builder!"
If you've successfully deployed your component but it doesn't show up under the "Custom" section in the Lightning App Builder, the issue is almost always in your .js-meta.xml file.
You must ensure that <isExposed>true</isExposed> is set, and that the component specifically targets lightning__RecordPage.
<?xml version="1.0" encoding="UTF-8"?>
<LightningComponentBundle xmlns="http://soap.sforce.com/2006/04/metadata">
    <apiVersion>60.0</apiVersion>
    <!-- ⚠️ This MUST be true -->
    <isExposed>true</isExposed>
    <targets>
        <!-- ⚠️ This MUST include the Record Page target -->
        <target>lightning__RecordPage</target>
    </targets>
</LightningComponentBundle>
2. The Component doesn't know what Record it's on
If your component is rendering but isn't pulling up data for the account you are viewing, ensure you are using the exact @api recordId and @api objectApiName variable names in your JavaScript.
Salesforce automatically passes this context to your component, but only if you use these exact names!
import { LightningElement, api } from "lwc";

export default class AccountCard extends LightningElement {
  // ⚠️ These must be exact
  @api recordId;
  @api objectApiName;
}
3. I want to pass parameters to my Component from the App Builder
If you asked Cursor to let you set a "Card Title" from the App Builder, you need to configure a <targetConfig> in your metadata file.
    <targets>
        <target>lightning__RecordPage</target>
    </targets>
    <!-- This makes the property editable in the App Builder -->
    <targetConfigs>
        <targetConfig targets="lightning__RecordPage">
            <property name="cardTitle" type="String" default="My Account Data" />
        </targetConfig>
    </targetConfigs>
4. "I made changes, but the Component looks exactly the same!"
Ah, the classic caching problem! Salesforce heavily caches Lightning components to improve performance. If you deploy a change and don't see it reflected immediately on the page:
- Hard Refresh: Try forcing a hard refresh in your browser (
Cmd/Ctrl + Shift + R). - Disable Caching: For development, navigate to Setup > Session Settings, scroll down to the "Caching" section, and uncheck Enable secure and persistent browser caching to improve performance. Save your changes.